
No, seriously.
How many times has your development team asked you to restore the latest copy of production into dev and your response is “Sure. Give me a day or two.”? Restoring a large database anywhere is not usually fast or enjoyable. Well, not until Pure Storage came to town. Pure’s “Crash Consistent Snapshots” gives you the ability to snap a database, without telling Windows or SQL or using that pesky VSS provider and restore it anywhere you want in a fully functional form. And yes, that whole process takes less than 60 seconds. ** Assuming you are already doing snapshots and replication that is.
Enough with the fluff. How do we do this already? Let’s dive in!
There are some important architectural considerations to keep in mind before we begin.
- You’re going to want your production and dev SQL servers running the same version of SQL Server
- The dev drives are completely replaced with the production drives. There’s no picking and choosing here. So you need to make sure the only databases running on the dev server’s drives are ones you plan to be replacing. If you have other databases running on this dev server, make sure you have them on different drives!
In the following example, we assume we have separate Production and Development storage arrays.
Setting up Snapshot Replication
Link the two arrays together
Before you can replicate snapshots, the arrays need to be linked.
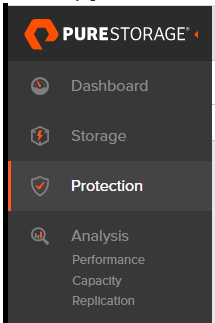
1. On the source array, navigate to the Protection pane
2. Click the 3 dots under “Array Connections” and choose “Get Connection Key”. Copy the key.
3. On the target array, navigate to the Protection pane.
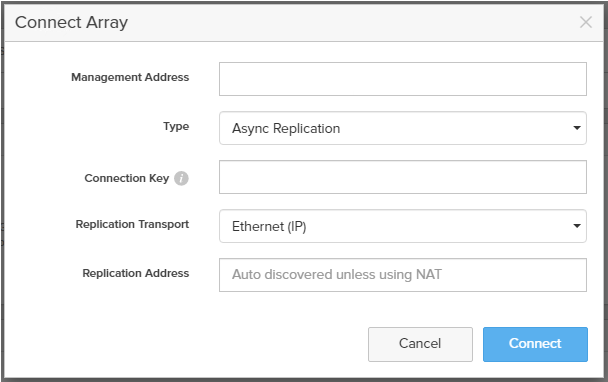
4. Click the “Plus” in the upper right corner of the “Array Connections” box.
5. Fill out the form, choosing Async Replication for the type and pasting the Connection Key from the source array.
6. Validate that the arrays are connected and healthy

Done! Your arrays are now connected to each other, and you can replicate snapshots.
Configure Snapshots
Now it’s time to setup the actual snapshots.
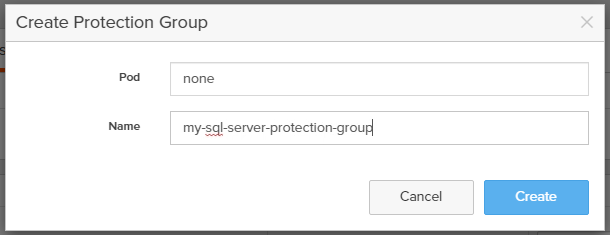
1. On the source, on the Protection pane, click the “Plus” in the upper right corner of the “Source Protection Groups” box.
2. Give your protection group a name, then click “Create”.
3. Click on the newly created protection group.
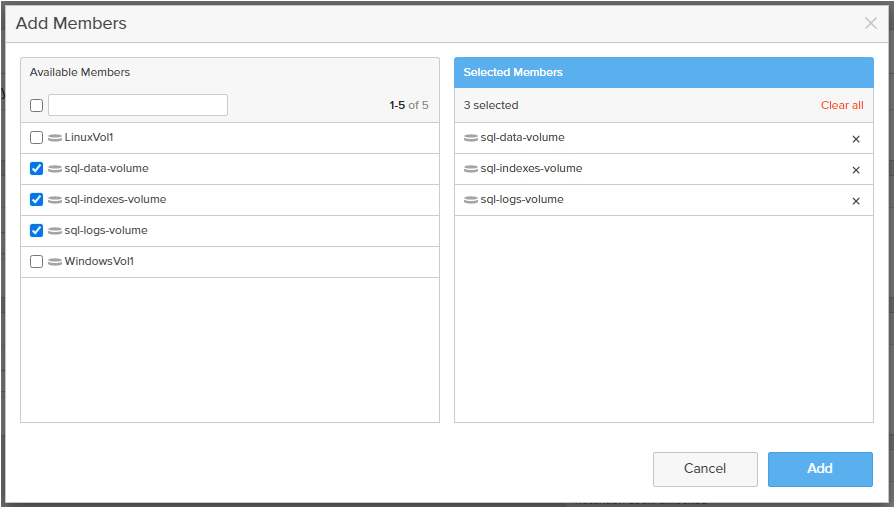
4. Click on the 3 dots under “Members”, then select “Add Volumes…”. Select the appropriate volumes associated with your database. Click “Add”

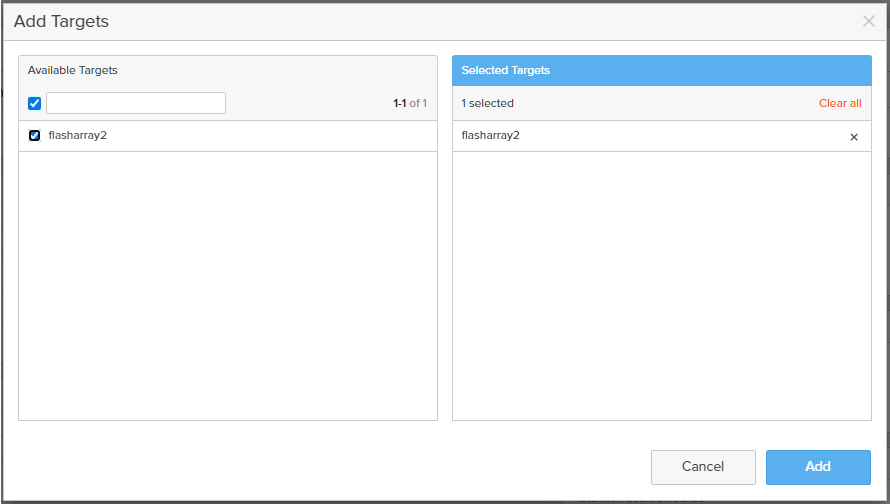
5. Click the 3 dots under “Targets”, then select “Add…”. Choose your target array. Click “Add”.
6. Click the “Edit” icon in the upper right corner of the “Replication Schedule” box. Setup replication based on your needs. The more often you replicate, the smaller the snaps will be and the faster they will replicate.
Snapshot replication is now setup. Depending on the size of your database and the speed of the network connection between the arrays, it could take a while for this first snapshot to replicate. It’s time to go get some coffee and come back when replication is done.